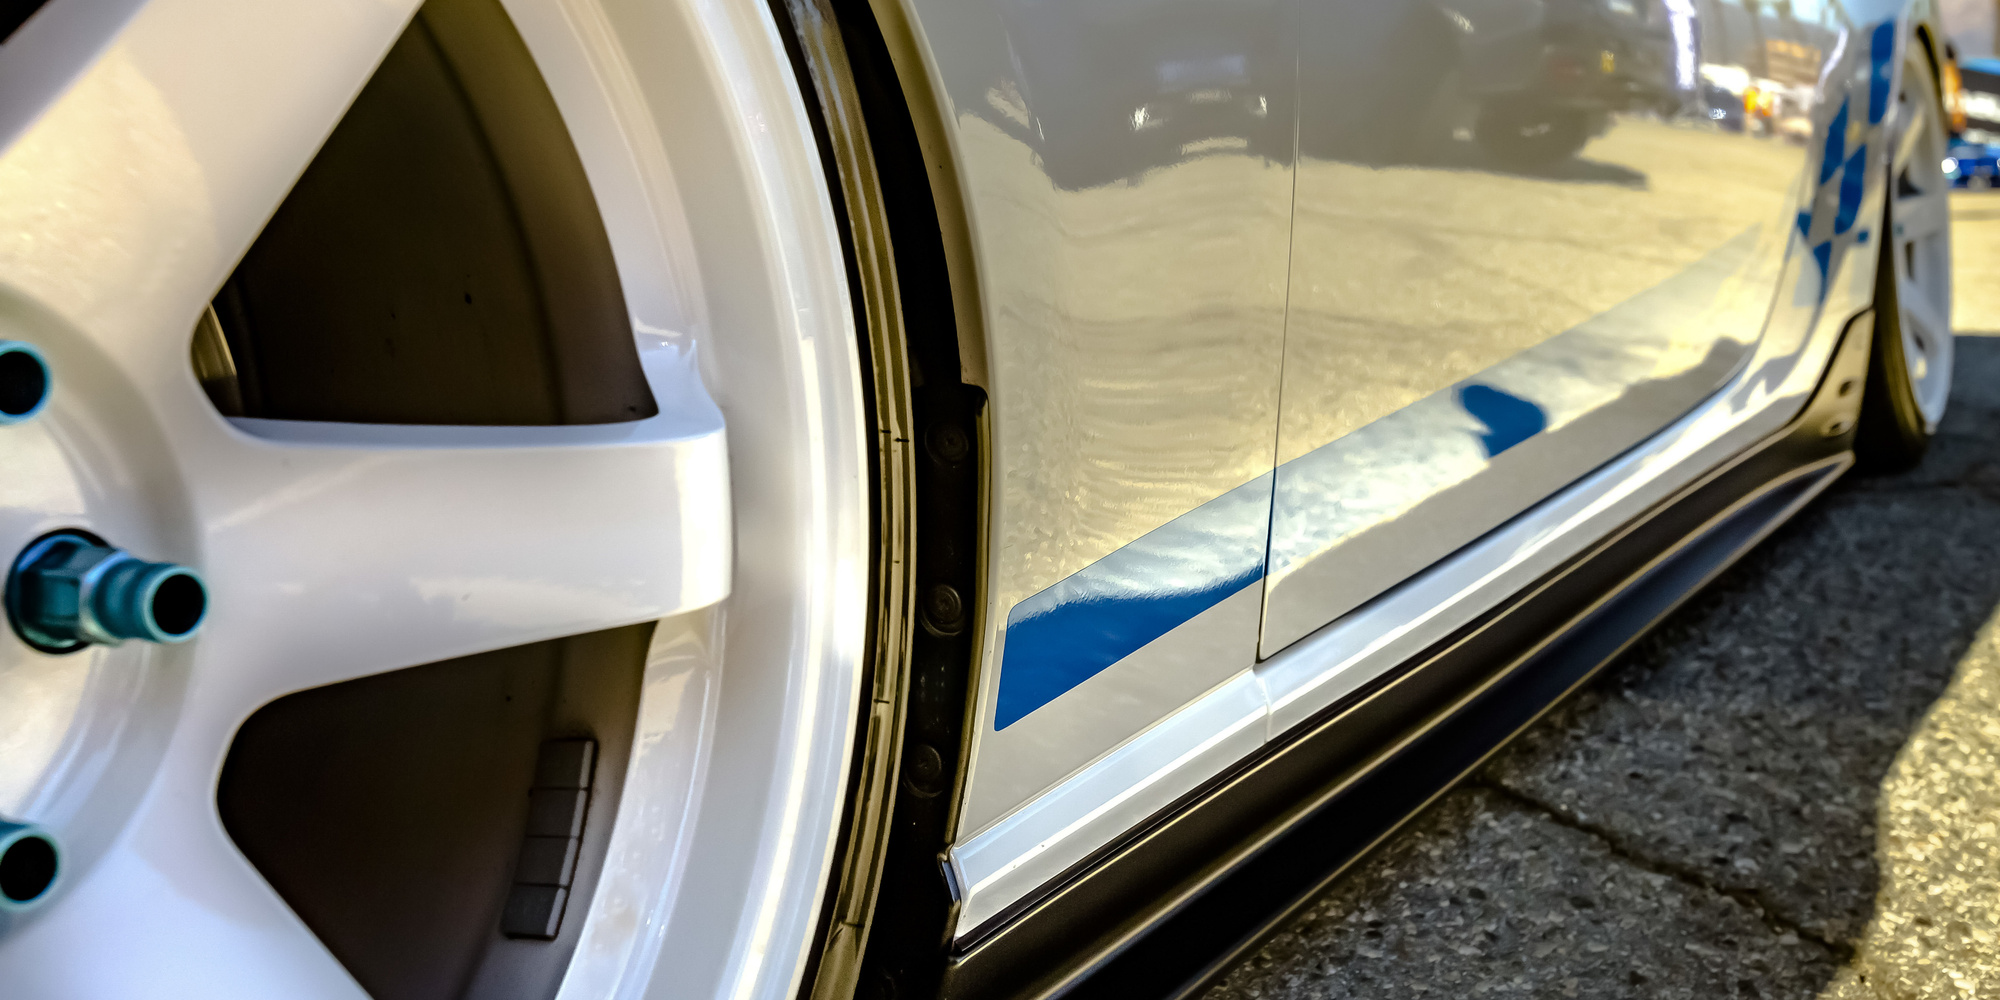
For some people, the car they drive is like a luxury home on wheels. That’s why it’s important to give it curb appeal. Pun intended.
Decals are an excellent way to make your car stand out on the road.
Pimping a ride out is an age-old tradition. From big wheels to spoilers, lights, and rims, owners spend big on vehicle aesthetics. But that can get expensive.
The simple addition of a decal is an inexpensive way to spruce up your ride. Not to mention, it’s one of the smartest marketing tools for entrepreneurs. But don’t run out and hire a professional to install it.
If you want to use this tool to give your vehicle a spark, do it on your own. Here we take a look at how to apply a car decal the right way.
Location
Location is everything, especially if you want your decal to have a presence. So, take a few minutes and survey your car for the perfect spot.
Keep in mind the type and size of the decal. If it’s a larger-sized decal, expect it to extend over other parts of the body of your car. Also, if you’re applying a car window decal, choose a window that’s going to give the best effect.
Assess the location for dents and bruises. You want your decal to look natural. Body damage may affect the decal in the long run.
Measure Where You Want the Decal
Don’t get ahead of yourself and lay your decal down without measuring the spot. Guesstimating can and will cost you.
With a ruler or measuring tape, hold the decal up against the car to see if the spot’s a good fit. Back up a bit to get a real sense of how it looks from a distance. Like hanging a photo, this should give you an idea of if the decal is in a good place.
Be sure not to remove the protective backing. You don’t want the decal to stick while you’re measuring. Also, make sure the location is clear of debris-dust and moisture-before you measure.
Mark the Location
Once you’ve found the perfect spot and the measurements work, mark your spot. Use painter’s or masking to tape to make a faux frame in the corners of where you measure the spot.
The tape won’t damage your car and the frame serves as a mini blueprint to lay your decal.
Clean and Dry the Area
Without using a harsh cleaner, wipe over the spot again. Use a soft paper towel and a spray bottle. You don’t want to ruin the tape.
Stick with rubbing alcohol or a mild soap. Then dry the spot well, wiping up any dampness.
Apply the Decal
You’ll need an old credit card or business card for this. Take your time and peel a corner of the protective back off the decal.
Using the tape frame as a guide, apply the top corner first. Press the corner down tight, then use the credit card to continue pressing the decal down. Press slow to avoid air bubbles.
Continue to peel away the backing as you press the decal onto the car. Once you’ve applied the decal with success. Inspect for bubbling. Use the credit card again if need be.
If everything looks okay, let the decal set for a while before removing the tape. After a half hour or so, remove the tape with ease and enjoy your decal.
Learning How to Apply a Car Decal is Easy
The best way to make your car noticeable in a parking lot is by learning how to apply a car decal.
Car decals give your vehicle presence and add value in more ways than one.
Learn more about maintenance and repair to your vehicle in our auto repair manuals.
